The Bee’s Knees
Back in the 1st quarter of 2023, I had participated in the Iceman Collections 2023 Buildoff. While I was not impressed with my PLACEMENT, I did want to re-shoot the car as the photos were no watermarked and were done in 1:1 format for instagram.

So while this build is not new, it did represent an accumulation of skills learned and trialling some experimental things I wanted to try on future builds.
While trying to keep the classic lines and styling of the 1969 Dodge Coronet, I did want to try and make some portions stand out. The biggest of which is the large dorsal fin dominating the trunk lid. The B-Body has a lot of space out back which I felt was wasted on a long course speeder. What was more important was color. Rather than a more dense yellow like Stinger Yellow, I chose Lemon Twist from Splash Paints. This was overcoated with a midcoat pearlescent finish before the decals were added and the Splash Paints 2K clear was draped overtop.

The shape was initially going to be a straight back profile, but like most of the plans for this build, they changed to something that fit a different bill.
While looking through my decalk sheets for Super Bee and MOPAR related sheets, I came across these B Body stripes and immediately knew that it was going to be the profile for the dorsal fin, or the stinger as it became to be known. with some tracing paper, I sketched the profile of the stripe before cutting it out of sheet styrene. The bottom was left long and was shaped and trimmed to fit the rear deck lid.
Due to the stinger being placed directly onto the trunk lid, a solution to open up the trunk was needed. Originally I wanted to have the trunks flip in towards the stinger and have a fuel cell plus a Nitrous bottle on either side however due to time constraints in the 60 day build, I simply scribed the lines if the trunk to show it had been split in two.


The next major alteration was enhancing the B-Body lines, widening and lowering the car whilst adding a bit of width the the already wide Coronet. First step was getting the ride height I wanted with a slight rake. Most of the drop was achieved via the chassis modifications but a percentage did come from carving out the wheel wells front and rear. 1.5mm on all four corners was taken off, using the stock lines as a guide to keep the aesthetics in check.

1x2mm rectangular styrene was laid over the tops of the arches to add the room needed for the wider wheels. They were kept from going all the way down however to minimize the extent of bodywork and keep the purpose build nature of the car intact.
The body lines were further enhanced with some 0.5mm rod placed along them and the chamfered with 2 part body filler sanded smooth.

The front received some minor surgery with a grille delete and headlight replacement to halos, opening up more of the front end for cool air to reach the engine bay. The front bumper was sectioned to fit closer to the body and opened up more to flow more air inside.
The front and rear bumper were both tiucked closer to the body but rather than keep them chrome, I opted to use Splash Paints Metalizer - Steel instead.
The rear stayed fairly intact, but the exhaust was routed from the wheel well, through the trunk space and out the outermost tail light bezel. Rear bumper recieved the same tuck and color as the front.

Tucked in and under the chassis is the IRS sporting a late model camaro rear differential.
I cannot for the life of me remember where I got the wheels and tires from, but they measured out at 22x13 in 1/25 scale. The skinny MOPAR Mags look worked well and filled up the arches wonderfully. They were body matched and given some white markings over the Splash Paints Rubber Black

Behind the wheels are 3D printed Brembo 6 pots. The advantage of 22'“ rims means that I could comfortably fit 18” drilled rotors with room to spare.

One of the other parts borrowed from the late model Camaro is the side mirrors. I decided keeping them in chrome would harken at the retro theme whilst fitting into the modified theme.
The hood was possibly the area that got the most revisions done to it. I had originally envisioned using the hood scoop from the ‘68 Charger 2 in 1 kit,but while sifting through my decal sheet stash, I came upon some Super Bee decals from the scissored door charger. all i did was trace the decal, rotate it 180 degrees and then cut that template into the hood. I then took that same template and cut a piece of clear styrene for the window. All that was left was to measure out the extractors, cut them to shape and glue them in.

Some 6.1L HEMI decals in yellow trimmed back from the same decal sheet helped wrap everything together. I was rather pleased that this worked so well.
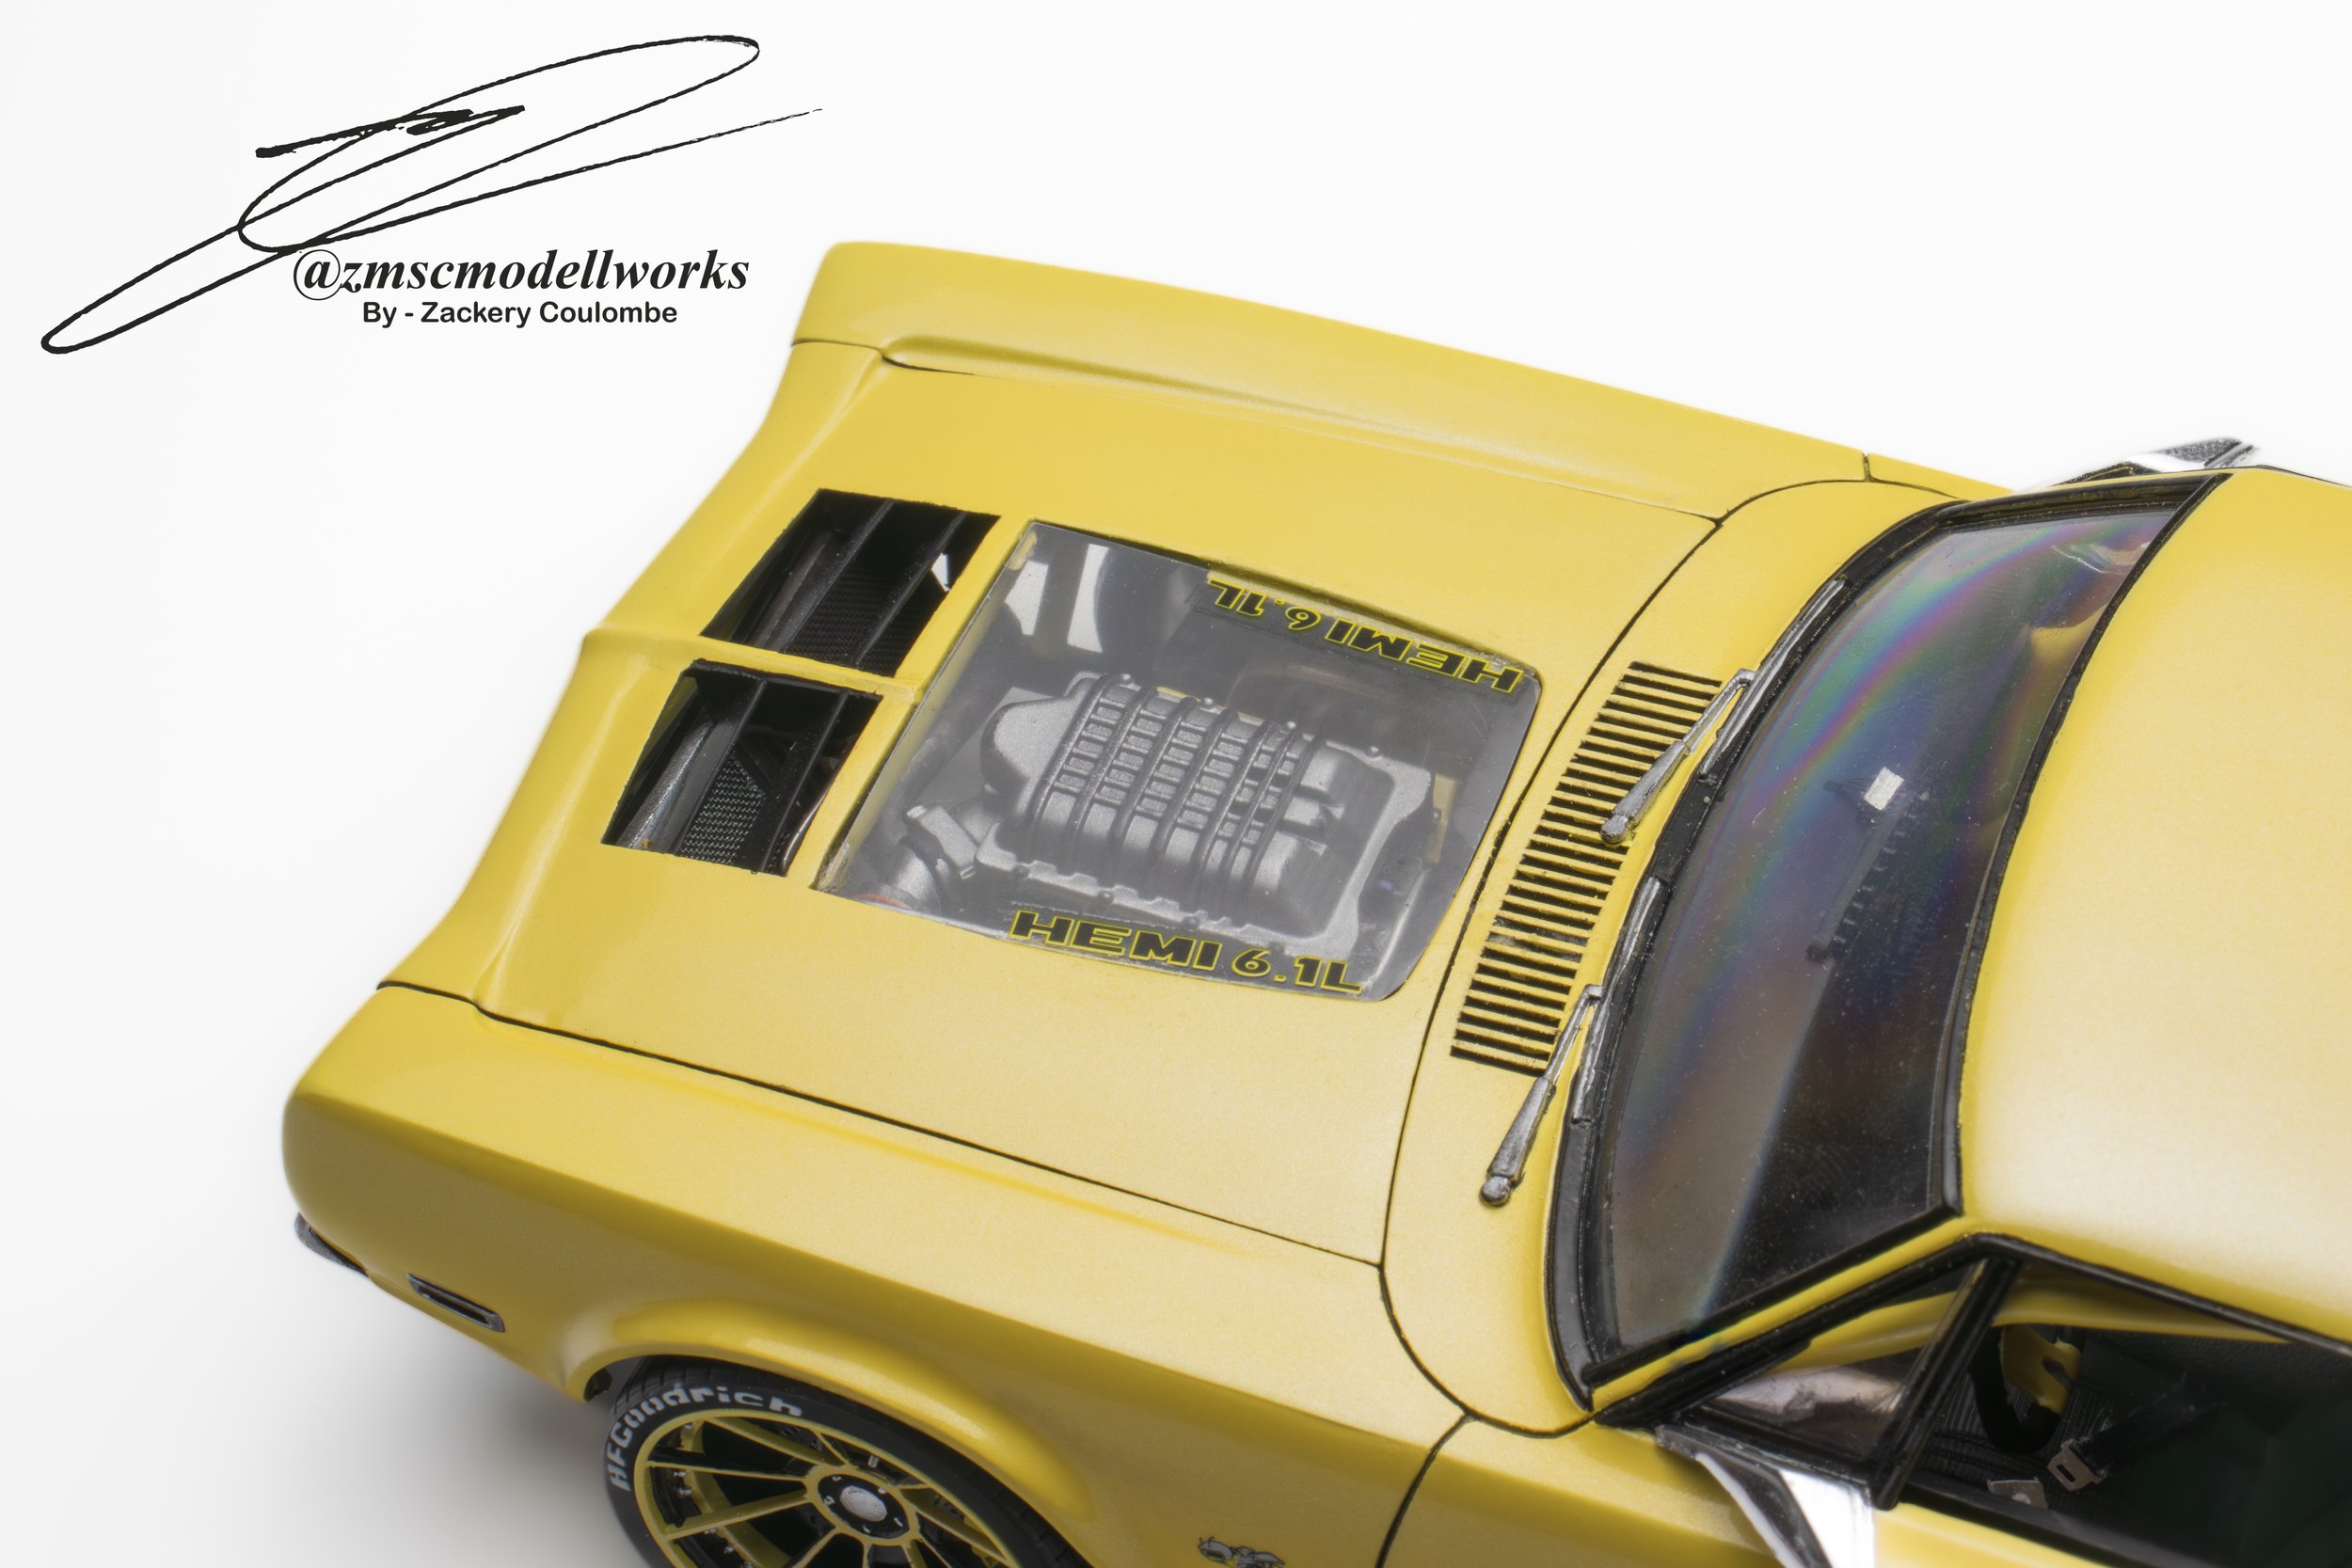
This had the added benefit of showcasing the Motabas designed 3D printed Hellcrate